There were some shots that needed extra attention to look right in the video. For example, the tracking shot of the Nintendo 64 was originally very shaky and the floor looked bad as it had rips and marks in it that were very obvious when we had the camera so close to the floor. The video below shows how I fixed the Nintendo tracking shot in After Effects.
(Note: Sorry for the audio quality. I had to record part of it while I had a cold, using my phone)
Overall we are pretty happy with how the shots in our video look, particularly the glidecam/shoulder-mount shots that move around the band. However, some of these shots were a bit too shaky and the motion was a bit offputting. For example, the movement in our opening shot is really nice but we wanted it to be a bit smoother since there were some jerky, shaky moments in it. To fix this, I used the 'Stabilize Motion' tool in After Effects like I show in the video above. I used this for a number of shots including the opener and the dolly track of the pile of VHS tape. The process was fairly simple. Again, I used the 'Replace With After Effects Composition' function in Adobe Premiere to open up the clip in After Effects as the video shows. I then right-clicked the clip and selected the 'Stabilize Motion' option which adds the 'Warp Stabilizer' effect. This tracks the motion of the shot automatically and then allows you to choose how you want the shot to be stabilized, reducing shaking and jerky movements. Since the shots were already pretty stable, I chose the 'Scale and Rotation' option. In a very shaky shot, this would require the clip to be scaled up a lot to allow for more rotation and movement but, since our shots were already quite smooth, we didn't lose very much quality due to scaling and I'm pleased with the result. It's a subtle effect but it means that the viewer will stay immersed instead of having their attention diverted by the slightly shaky shots.
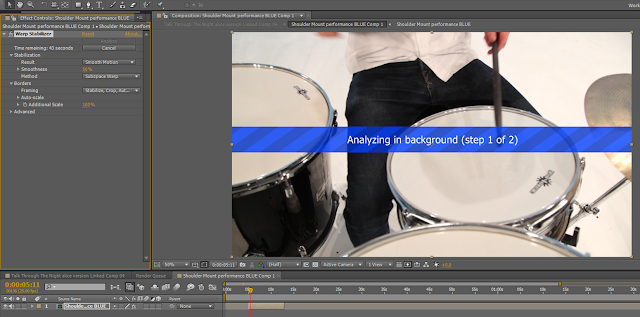 |
| After Effects stabilizing our opening clip |


 Click Image to open Pilgrim's website in a new tab
No comments:
Post a Comment